Découpage Shell Art
By Amy Bentley

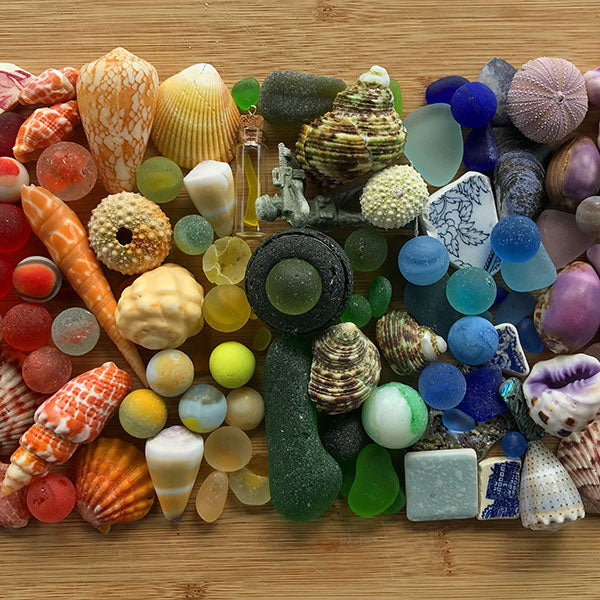
There’s no shortage of ways to incorporate seashells into art, as seashells can be glued onto just about anything. Découpage is another way to create a unique artwork from a shell.

Découpage is the art of decorating an object by gluing colored paper cutouts onto it and optionally using paint or other decorative elements as well. Découpage is often done on things like wooden boxes, glass bottles, or flowerpots, and it’s a great way to spruce up old, worn furniture. The découpaged object is then varnished or lacquered with high-gloss sealer to keep the paper intact and leave it with a pretty sheen.
Shells are another good object for découpage, especially using paper with an ocean theme. Many artists like to découpage the inside of shells. However, large shells like Queen conchs or whelks also can be découpaged on the outside for a piece that makes a statement. These big shells are more complex and take a little more planning.
Doing découpage also takes some skill, practice, and patience. When I became interested in learning this craft, I watched some YouTube tutorials and I practiced on small Florida fighting conchs I’d collected from the beach, since they are plentiful where I live on the Gulf Coast. This way, if I wrecked my little practice project, it wasn’t a big deal.
Supplies

- Clean shells with mostly smooth surfaces and as few bumps as possible. Large whelks with holes or broken spires can be used if you can artfully incorporate the damaged spots into your design.
- White acrylic paint (matte or metallic) and small paint brushes.
- Mod Podge brand glue and glossy sealer spray.
- Colorful paper napkins, preferably with a white or light-colored background. Look for napkins with images of shells, coral, fish, dolphins, sea turtles, seahorses, and other beach-themed pictures. Words like “Ocean” or phrases like “Take Me to the Beach” can also be incorporated into the design. You can likely use small cocktail-sized napkins or luncheon napkins for larger shell projects.
Prepare the Shell

Make sure your shell is clean and dry before starting. Paint the shell white or another light color if you’d like and let the paint dry. Use two coats if needed.
Create your design

Consider your motif and think in advance about where you want to place your designs. Cut out the pieces of the napkin you want to use on your shell. Hold the pieces over the shell to see if they will fit and how your design will look. This is where your creativity comes in. Coordinate colors, overlapping the napkin cutouts for a layered look.

Separate the layers of your napkin cutouts, keeping only the topmost layer that has the printed design. Discard the two to three plain white layers—or use them for cleanup when you’re done.
Apply the designs

Use a paintbrush to apply the Mod Podge glue to the shell. Press the paper down slowly and carefully on top of the glue, smoothing it out slowly to eliminate bubbles or wrinkles.
It is very easy to tear the napkin so take your time pressing down the paper. You can use a paint brush to gently press down the cutouts or place a piece of clean transparent cling wrap over the cutout and gently press it in place. You can découpage inside the opening of the shell, too.
Wait at least 30 minutes for the glue to dry then apply a light coating of Mod Podge glue over the entire shell.

If you want to get really fancy, paint the edges and tip of the shell with gold or silver metallic paint. Let the shell dry overnight.
When everything is dry, add clear spray sealer* one side at a time, covering the entire shell, and let it dry.

Enjoy your daily dose of vitamin sea!
*Use a food-safe and/or waterproof sealer if you will be using your découpaged shells for anything other than display.
Make art with your beach finds

Learn how to make art, jewelry, and fun home decorations with seashells, sea glass, beach rocks, and more. Articles ›
This article appeared in Beachcombing Magazine Volume 41 March/April 2024.